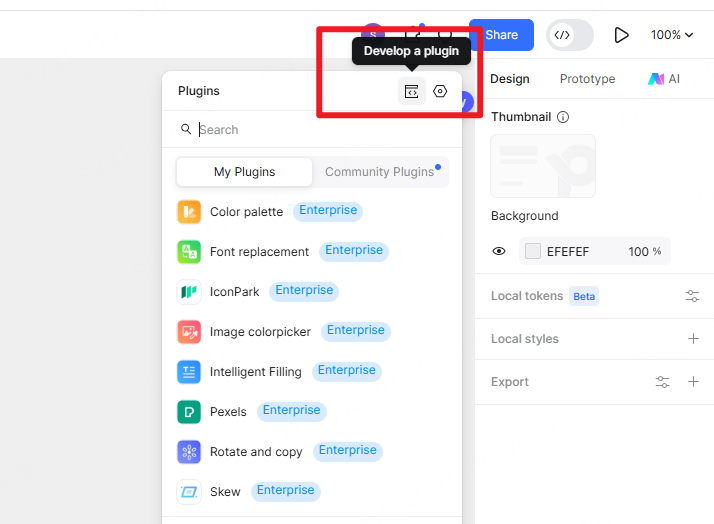
Development Guide
Quick Start
- Create a plugin project using @pixso/create-plugin
Run the npm command to quickly start your plugin:
npm init @pixso/plugin my-pluginThe plugin template includes @pixso/plugin-typings and @pixso/plugin-cli, reducing project setup costs.
- Start the dev-server for your local plugin project
cd my-plugin
npm install
npm run dev
@pixso/plugin-cli will enable hot reload for your plugin application.
Note: The UI started by plugin-cli's dev command will be loaded in a Non-null origin iframe; if your built and packaged UI is loaded in a Null origin iframe, please note the differences in Web API usage.
- Start hot reload monitoring in Pixso web
The Pixso web client will monitor the fixed port of the local dev-server.
Build User Interface
In essence, building a user interface is no different from developing a traditional Web application. You can even use modern Web frameworks like Vue, React, and so on. The following example uses native technology to build the user interface.
<!DOCTYPE html>
<body>
  <div class="content">
    <div style="margin-bottom: 20px; color: #fff;">
      Enter the number of ovals: <input type="text" />
    </div>
    <button id="btn">Create</button>
  </div>
</body>
Then write JavaScript code in main.js
// main.js
pixso.showUI(__html__); // Used to display the plugin user interface
Null origin iframe
The UI iframe loaded by Pixso 2.0 uses the URL of the data: protocol, which is different from the blob: protocol of Pixso 1.0. This is mainly to avoid security risks and protect the security of Pixso data.
The origin of the iframe loaded by the data: protocol is "null", which will limit the use of some Web APIs, such as: document.cookie, window.localStorage, window.sessionStorage, IndexedDB, etc.
Non-null origin iframe
If you don't want your UI to load in an iframe with a null origin, you can also navigate the iframe to a custom URL by doing the following:
pixso.showUI(`<script>window.location.href = "https://..."</script>`)Communicate with the Main Thread
The following is how to communicate between the user interface and the main thread.
The user interface sends the message:
<script>
  ...
  parent.postMessage({ pluginMessage: 'This is a message' }, '*')
  ...
</script>
The main thread script receives the message:
pixso.ui.onmessage = (message) => {
  console.log("Received a message from the front-end", message);
};
The main thread script sends the message:
pixso.ui.postMessage(42);The user interface receives the message:
<script>
  ...
  onmessage = (event) => {
    console.log("Received a message from the main thread script", event.data.pluginMessage)
  }
  ...
</script>
Send Network Request
The way you send a network request in the Pixso plugin is basically the same as normal JavaScript running in a Web browser, and the API for sending the request is provided by the browser, not by Pixso.
The following example sends a network request by creating an invisible <iframe>.
pixso.showUI(__html__)
pixso.ui.postMessage({ type: 'request' })

pixso.ui.onmessage = (msg) => {
  const text = pixso.createText()
  // Display the text layer in the viewable area
  text.x = pixso.viewport.center.x
  text.y = pixso.viewport.center.y

  pixso.loadFontAsync(text.textStyles[0].textStyle.fontName as FontName)
    .then(() => {
      text.characters = msg
      pixso.closePlugin()
    })
}
The invisible <iframe>, like any other user interface, requires a reference to the HTML file in manifest.json. Here, we'll simply make a standard XMLHttpRequest and return the result to the main thread.
<script>
  window.onmessage = async (event) => {
    if (event.data.type === "request") {
      const request = new XMLHttpRequest();
      request.open("GET", "https://jsonplaceholder.typicode.com/posts");
      request.responseType = "json";
      request.onload = () => {
        window.parent.postMessage(request.response[0].title, "*");
      };
      request.send();
    }
  };
</script>
Compatible with Figma plug-ins
Pixso is also compatible with Figma plug-ins, and can directly import the Figma plugin code to run. If you need to distinguish between Pixso and Figma environments in the code, you can use the following methods:
The user interface
<script>
  const isInPixso = window.location.origin.includes("pixso");
</script>
The main thread script
const isInPixso = !!pixso;